Resources > Knowledge Base > Editing and Changing Lens Data
Editing and Changing Lens Data
You will frequently want to examine and change your lens, and we have provided a very friendly interface, the SketchPAD, with its companion, the WorkSheet. Type, in the CW, PAD, or click the button, , near the center of the top toolbar. The PAD window opens.

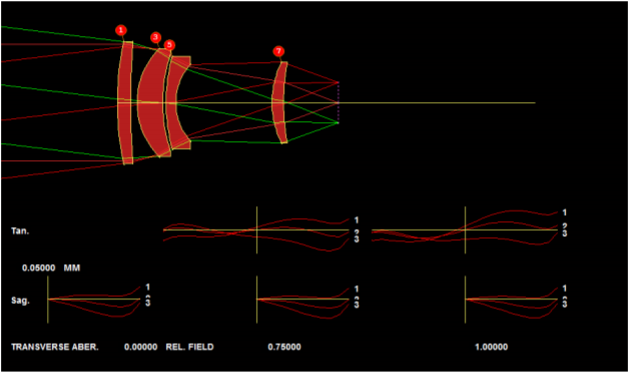
Try clicking on the buttons, , which let you select what kind of display you want to see on the top and bottom half of the PAD display. There are seven options for each, and the default, shown here, displays a Y-Z profile drawing on top and RayFAN plots on the bottom, both with default scales. You can define five different combinations, identifying each set with a button
  . Then you can switch back and forth with a single click – so you could examine the lens as a perspective drawing on top with spot diagrams on the bottom, as a profile with a custom set of rays on top, and so on.
To edit your lens, you can type WS (WorkSheet) in the CW, or click the button  , which opens the WS editor window, where you can change anything in the lens. Open the WS, and then click on surface 3 in the lens drawing.

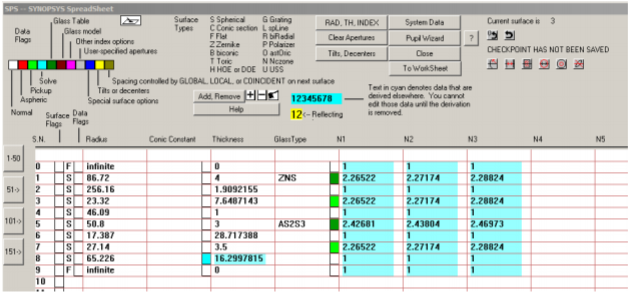
Here you see the data for surface 3: radius of curvature, thickness, index data at three wavelengths, and the entry “3 PIN 1”, which says that this surface will pick up whatever index is assigned to surface 1. You can change the data if you wish and click Update, or move one of the sliders to vary a parameter smoothly while you watch the picture change. (SYNOPSYS™ has the most sophisticated sliders in the business.) If you prefer a spreadsheet interface, you can get there by typing SPS, by clicking that button on the WS, or the button  .
.

You can edit your data here, if you wish, and jump back and forth from WorkSheet to SpreadSheet by clicking the appropriate buttons.
